With the mask tracked, you’re ready to add drapery to the scene.
- Choose Add from the Mask Mode menu, and select Inverted next to Mask 1 in the Timeline panel.
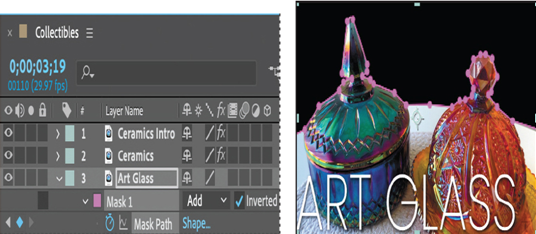
- Hide the properties for the Art Glass layer, and then go to 2:05, the beginning of the scene.
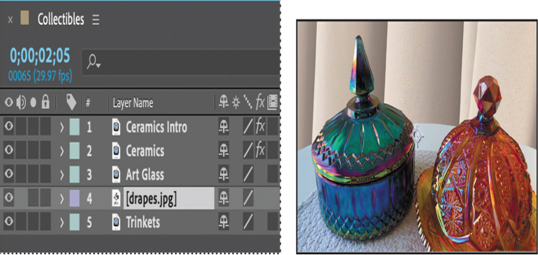
- Double-click an empty area in the Project panel to open the Import File dialog box, and navigate to the Lessons/Lesson10/Assets folder. Select the drapes.jpg file, deselect Create Composition, and click Import or Open.
- Drag the drapes.jpg file from the Project panel to the Timeline panel, placing it below the Art Glass layer.
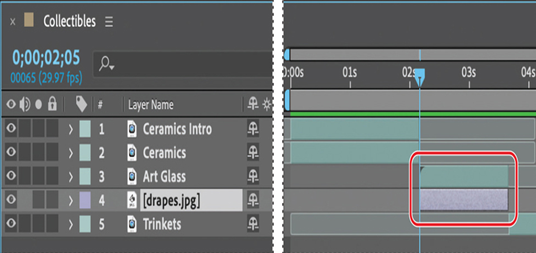
- Drag the ends of the drapery footage in the Timeline panel so that its duration matches the Art Glass layer.
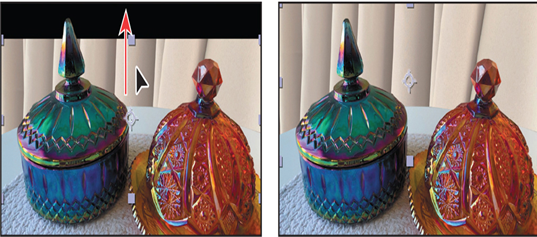
- With the drapes.jpg file selected in the Timeline panel, choose Layer > Transform > Fit to Comp Width.
- Use the Selection tool ( ) to reposition the image, aligning it with the top of the composition.
Color-correcting using Auto Contrast
Although the background is now less bland, the contrast of the drapes doesn’t quite match the foreground elements. You’ll use the Auto Contrast effect to correct that.
- Select the Art Glass layer in the Timeline panel, and then choose Effect > Color Correction > Auto Contrast.
- In the Effect Controls panel, change Temporal Smoothing (seconds) to 2.00.
- Change the White Clip value to 3.00% to brighten the foreground elements.
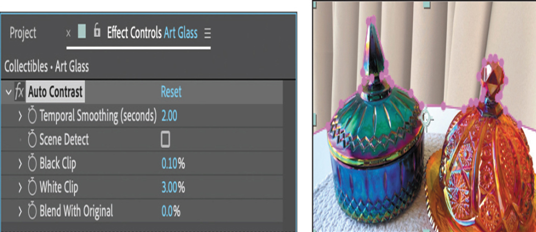
The Black Clip and White Clip values determine how much of the shadows and highlights (respectively) are clipped to the new extreme shadow and highlight colors in the image. Set the clipping values only as high as you need to as excessive clipping can reduce detail in the shadows or highlights.
- Choose File > Save to save your work.
