The Auto Contrast effect adjusts the overall contrast and mixture of colors. It maps the lightest and darkest pixels in the image to white and black, and then redistributes the intermediate pixels so that highlights appear lighter and shadows appear darker.
You’ll adjust the contrast so that the details of the ceramic birds are more pronounced.
- With the Ceramics layer selected, choose Effect > Color Correction > Auto Contrast.
After Effects applies the default settings to adjust the contrast in the image, and it opens the Auto Contrast effect options in the Effect Controls panel.
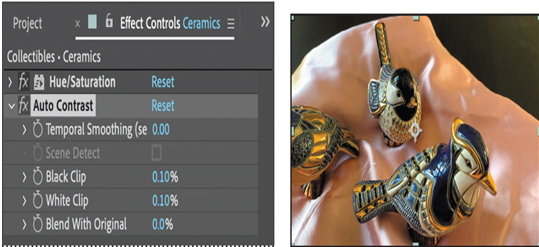
The default settings are a nice start, but you’ll animate the settings to increase the contrast over time.
- Make sure the current-time indicator is at the beginning of the time ruler. Then click the stopwatch icon ( ) for the Black Clip property in the Effect Controls panel to create an initial keyframe.
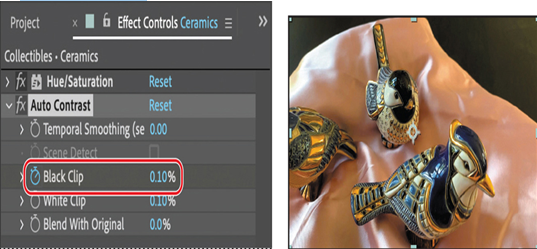
- Go to 2:02, where the text is in its final position.
- Increase the Black Clip value to 2.00.
The background darkens, making the text more pronounced.
- Hide the Auto Contrast options in the Effect Controls panel.
- Choose File > Save to save your work.
Adding a colorized effect
The Colorize option in the Hue/Saturation effect adds color to an image. It’s an easy way to create a stylized duotone. To add some visual interest, you’ll create a transition from a duotone to full color at the beginning of the clip.
- Press the Home key or move the current-time indicator to the beginning of the time ruler.
- Select the Ceramics layer, and choose Edit > Duplicate.
- Select the Ceramics 2 layer, press Enter or Return, and rename the layer Ceramics Intro. Press Enter or Return to accept the new name.
- Select the Ceramics Intro layer. Then, in the Effect Controls panel, delete the Auto Contrast effect.
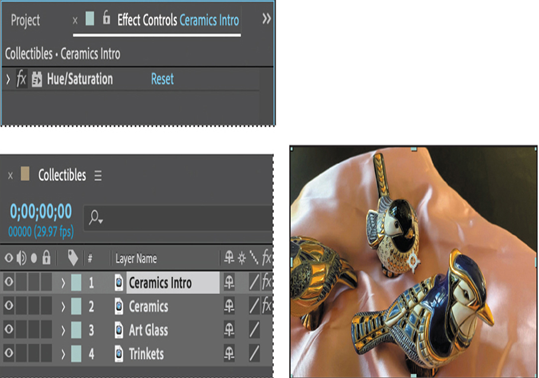
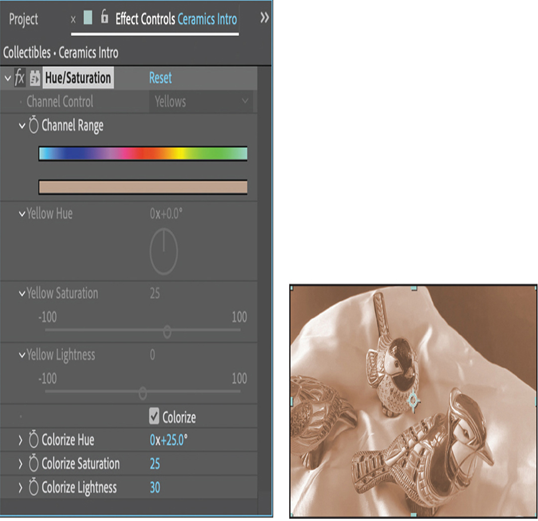
- In the Effect Controls panel, open the Hue/Saturation effect, if it isn’t already open. Then, select Colorize.
- Increase the Colorize Hue value to 25°.
- Increase the Colorize Lightness value to 30.
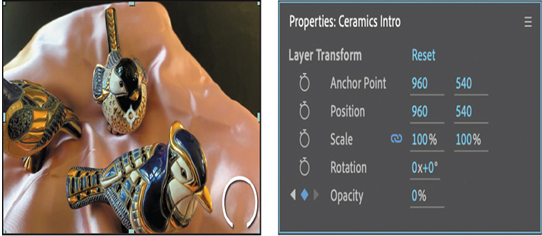
- In the Properties panel, click the stopwatch icon ( ) for the Opacity property to create an initial keyframe.
- Go to 0:15, and change the Opacity to 0.
10.Drag the current-time indicator from 0:00 to 2:04 to preview the entire clip.

11.Hide the properties for all layers, and save your work.
Replacing a background
The background footage for the art glass is bland and there’s an unsightly outlet in the corner. To resolve this, you’ll replace the background with an image of drapery.
You’ll start by masking the background and tracking the mask.
