There are many reasons to isolate a foreground image from a background. You may want to replace the background entirely, moving the subject to a different setting. Or you could simply want to change the foreground or background without modifying the other. In this lesson, you’ll remove the fenced in area of the background, and replace it with a different background, which you’ll enhance with color correction tools.
- Close the Layer panel to return to the Composition panel, and then move the current-time indicator to the beginning of the timeline. Choose Fit from the Magnification Ratio pop-up menu at the bottom of the Composition panel.
- Hide the properties for the Chickadee.mov layer, if they’re visible.
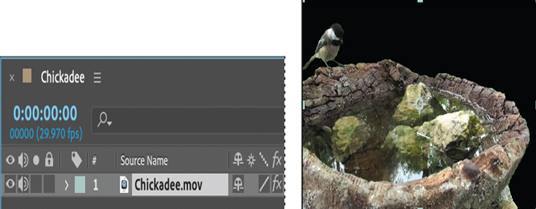
The Composition panel displays the composition, which includes only the Chickadee.mov layer, consisting only of the foreground you isolated from the clip.
- Click the Project tab to display the Project panel, and double-click an empty area in the Project panel. Navigate to the Lessons/Lesson09/Assets folder, select the MillPond.mov file, and click Import or Open.
- Drag the MillPond.mov clip from the Project panel to the Timeline panel, and place it below the original Chickadee.mov layer.
- Click the new layer, press Enter or Return, and rename the layer Mill Pond Start. Then press Enter or Return again.
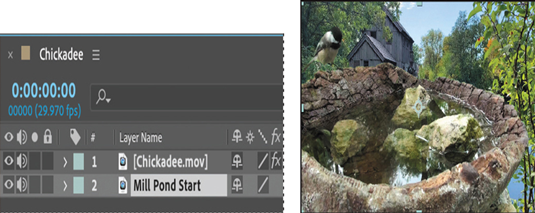
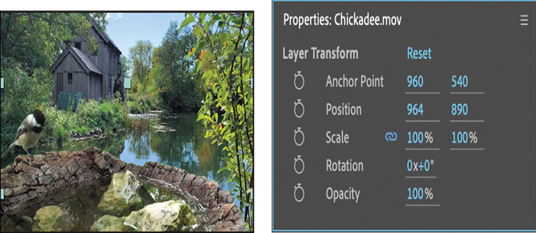
- Select the Chickadee layer. Then, using the Selection tool ( ), drag the layer to the lower half of the Composition panel. Your values should be similar to ours.
- Select the Mill Pond Start layer, and choose Effect > Color Correction > Hue/Saturation.
You’ll use the Hue/Saturation effect in two different ways, so you’ll create a duplicate layer for the second effect. - With the Mill Pond Start layer selected, choose Edit > Duplicate. Rename the bottom layer Mill Pond End. Then rename the top layer to remove the number 2 from the name (so that its name is Mill Pond Start).
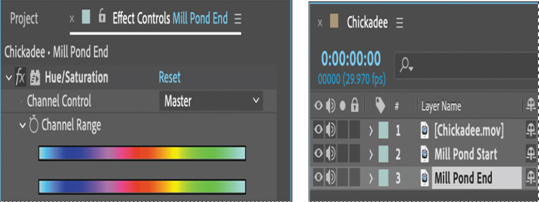
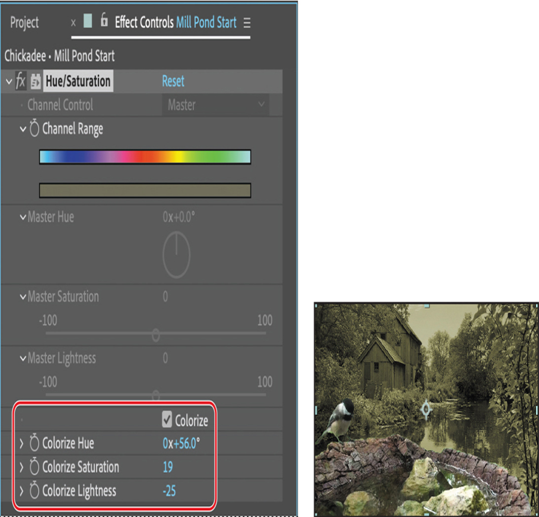
- Select the Mill Pond Start layer, and then, in the Effect Controls panel, do the following:
• Select Colorize.
• Change Colorize Hue to 56 degrees.
• Change Colorize Saturation to 19.
• Change Colorize Lightness to −25.
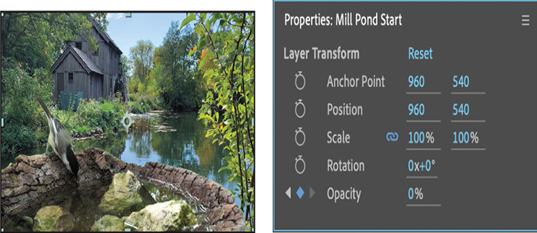
- In the Properties panel, click the stopwatch icon for the Opacity value to create an initial keyframe at 100%.
- Go to 1:10, and change the Opacity to 0.
- Still at 1:10, select the Mill Pond End layer.
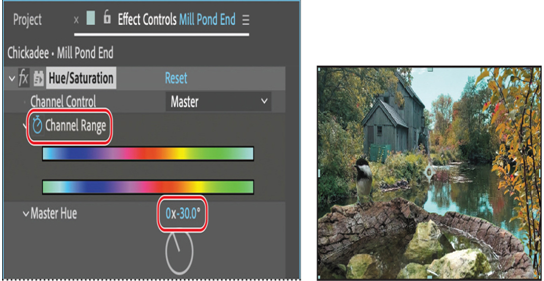
- In the Effect Controls panel, click the stopwatch icon for the Channel Range property to create an initial keyframe.
- Go to the end of the footage (2:25), and change the Master Hue to -30.
- Press the spacebar to preview the project. Press the spacebar again when you’ve finished.

The background transitions from a monochromatic dusk to a full summer day and then again to the beginning of fall as the leaves change.
- Choose File > Increment And Save.
If you save incrementally, you can return to earlier versions of your project to make adjustments later. This can be very useful if you’re experimenting or want to try alternative effects. The Increment And Save feature preserves the previously saved version of the project and creates a new project with the same name, with an increasing number added to the filename.
