You’ll import two Adobe Photoshop files and a background movie.
- Choose File > Import > File.
- Navigate to the Lessons/Lesson08/Assets folder. Press Ctrl or Command to select the crab.psd and Water background.mov files. Then click Import or Open. The assets appear in the Project panel.
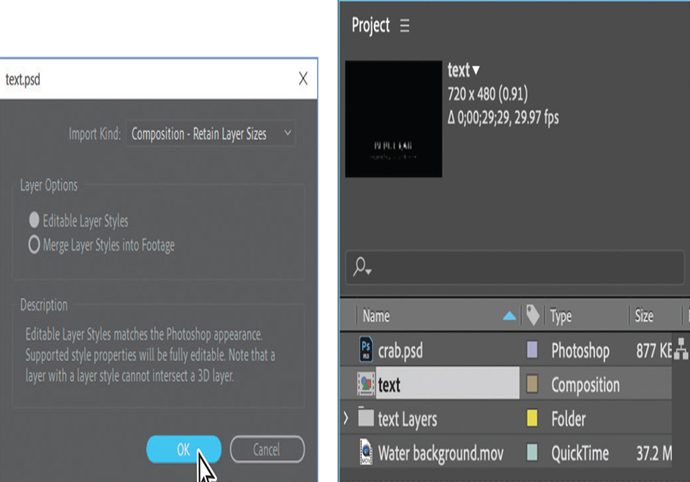
- Double-click an empty area in the Project panel to open the Import File dialog box again. Select the text.psd file in the Lessons/Lesson08/Assets folder.
- Choose Composition – Retain Layer Sizes from the Import As menu. (In macOS, you may need to click Options to see the Import As menu.) Then click Import or Open.
- In the Text.psd dialog box, select Editable Layer Styles, and click OK. The imported file is added as a composition to the Project panel; its layers are added in a separate folder.

Creating the composition
As with any project, you need to create a new composition.
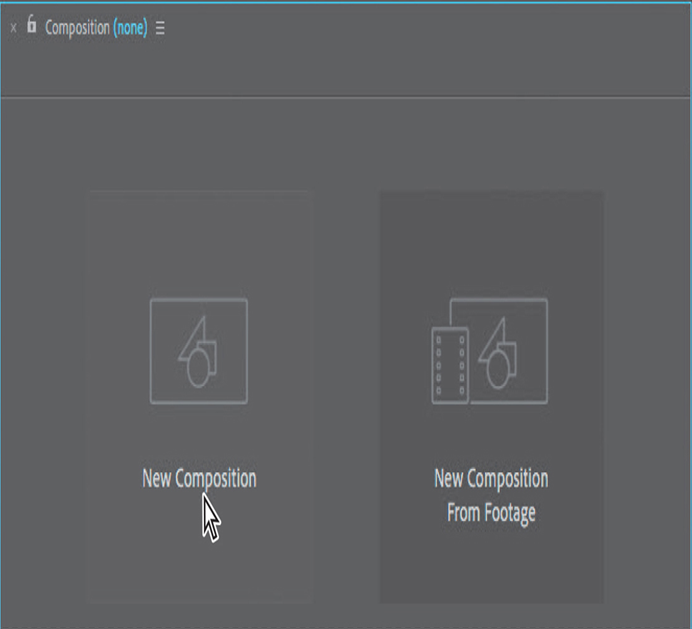
- Click New Composition in the Composition panel.

- Name the composition Blue Crab.
- Deselect Lock Aspect Ratio if it’s selected. Then, change the Width to 720 px and the Height to 480 px.
- Choose 30 for the Frame Rate, and then choose D1/DV NTSC (0.91) from the Pixel Aspect Ratio menu.
- In the Duration field, type 1000 to specify 10 seconds.
- Change the Background Color to a deep cyan color. (We used R=5, G=62, B=65.) Then click OK to close the Composition Settings dialog box.
After Effects opens the new composition in the Timeline and Composition panels.
Adding the background
It’s easier to animate the image in context, so first you’ll add the background to the composition.
- Press the Home key or move the current-time indicator to the beginning of the composition.
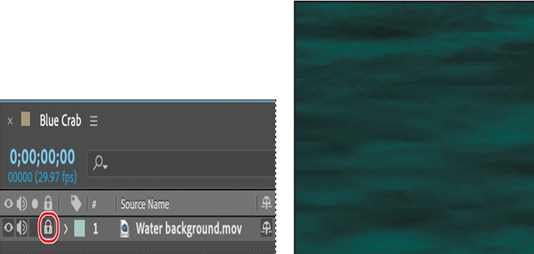
- Drag the Water background.mov file to the Timeline panel.
- Click the Lock icon (
) for the layer to prevent accidental changes to it for now.

