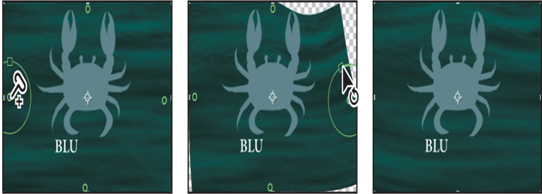
You’ve used the Puppet tools to animate an image on a layer, but you can also use them to warp or create other special effects on video layers. You’ll use Advanced pins to make the water swirl.
- In the Timeline panel, click the Lock icon to unlock the Water background.mov layer so you can edit it.
- Go to 4:00, where you can see the water clearly.
- Select the Water background.mov layer.
- Select the Puppet Advanced Pin tool in the Tools panel, and then create two Advanced pins in the water on either side of the crab and one each above and below it.
- Deselect Show in the Tools panel so you can see the water clearly.
- Rotate each pin to create waves in the water. You’ll probably need to scale and reposition the pins as well to ensure that the water reaches the edges of the scene. If you aren’t happy with the effect, you can delete the pins and start over.

- Press the Home key or move the current-time indicator to the beginning of the time ruler. Then press the spacebar to preview the animation. Press the spacebar again to stop playback.
- Hide all properties in the Timeline panel, and then save the project.
Recording animation
Changing the position of each pin at each keyframe worked, but you probably found the process to be slow and tedious. Instead of manually animating keyframes, you can use the Puppet Sketch tool to drag the pins into position in real time. After Effects starts recording the motion as soon as you begin dragging a pin, and it stops recording when you release the mouse button. The composition moves forward through time as you move the pin. When you stop recording, the current-time indicator returns to the point at which you began recording, so that you can record the path for another pin during the same time period.
Experiment with this method of animation as you re-create the pincers’ movement using the Puppet Sketch tool.
Tip
By default, the motion is played back at the speed at which it was recorded. To change the ratio of recording speed to playback speed, click Record Options in the Tools panel, and change the Speed value before recording.
- Choose File > Save As > Save As, and name the project Motionsketch.aep. Save it in the Lesson08/Finished_Project folder.
- Move the current-time indicator to 1:27.
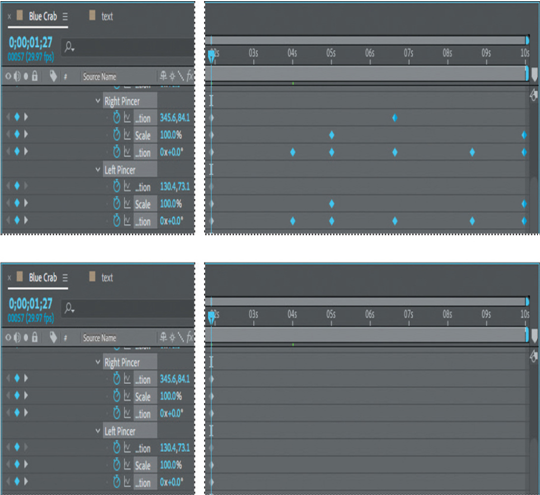
- In the Timeline panel, select the crab.psd layer, and press U to display all the keyframes for the layer.
- Scroll down to the Left Pincer and Right Pincer pins. Drag to select all keyframes for those pins after 1:27, and then delete the keyframes.

The animation for the other pins remains, but you’ve removed the keyframes that animate the pincers. Depending on where you placed Starch pins, the pincers may move slightly in response to other pins’ movements.
- Select the Puppet Position Pin tool ( ) in the Tools panel.
- In the Timeline panel, select Puppet to see the pins in the Composition panel, if they’re not already visible.
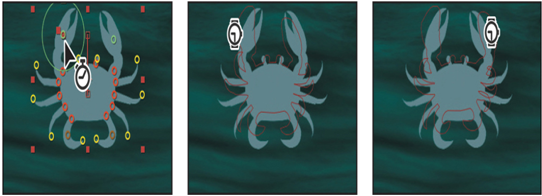
- Select the Left Pincer pin in the Composition panel, and press Ctrl (Windows) or Command (macOS) to activate the Puppet Sketch tool. (A clock icon appears next to the pointer.)
- Continue to hold down Ctrl or Command as you drag the Left Pincer pin into different positions for the length of the video. Release the mouse button when you’ve finished. The current-time indicator returns to 1:27.
- Press Ctrl or Command, and drag the Right Pincer pin into different positions. Use the outline of the crab and the other pincer’s movements to guide you. Release the mouse button to stop recording.
Note
The Puppet Sketch tool records changes in position, but not rotation or size.

10.Preview the final animation.
You’ve used the Puppet tools to create a realistic, engaging animation. Remember that you can use the Puppet tools to deform and manipulate many kinds of objects.
